
PMI SmokeNinja - Handheld smoke machine for food photography

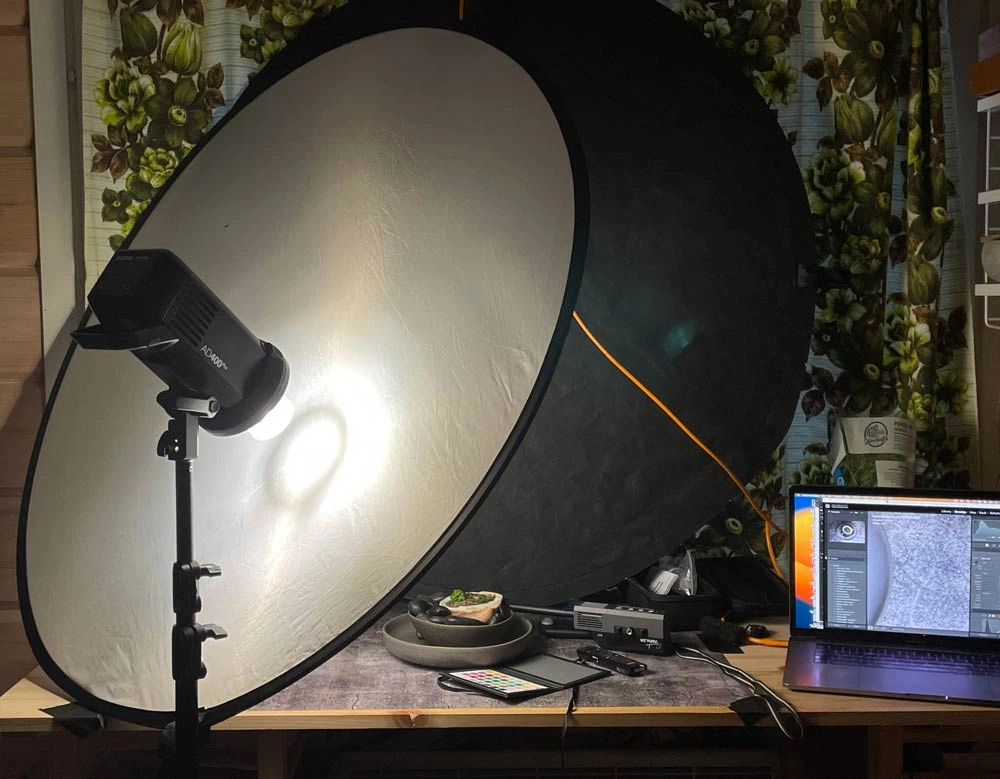
Implementing SmokeNINJA
I opened the package and read the little booklet that came with it, which contained the basic principles for using the device. After that, I dived into the world of the internet to watch reference videos, because the booklet didn't quite cover everything related to setup and use.
After this, I quickly got the device ready for use. I charged the device's battery using the USB-C cable that came with it (this took just under two hours), filled and installed the liquid tank, and put the "chimney in place". The device's main menu is simple and intuitive to use, each vapor has its own button, and the vapor release button is located on the other side of the device. The color bars on the front of the machine tell you how long the device can be used.
At first, I was a little confused about a few things, as I wondered where these buttons shown in the manual were. Eventually, I found them under a warning sticker that I had not removed from the side of the device. Another surprise was the power button, which requires three presses to turn on the device. And the third confusion was the first time I used it, when I had selected "Steam", i.e. the lightest steam, and when I pressed the button, nothing came out of the pipe, even though the device was on and there was a sound. When using Steam, it takes a short while before visible steam starts to appear.
It's always appreciated when the design of equipment has been designed to free your hands from the equipment, as many photographers work alone without an assistant and these little things are valuable. In other words, the mounting of the equipment and the remote control have been thought through. I think this has been well-considered in SmokeNINJA.
Related product purchase
PMI SmokeGENIE Professional Kit - wireless smoke machine
PMI SmokeGENIE Event Kit - wireless smoke machine system
PMI Smoke-Shaping Nozzles Set

Mon-Fri 9-17 and Sat 10-14
INFO