Star Photography - Tips for Getting Started with Star Photography

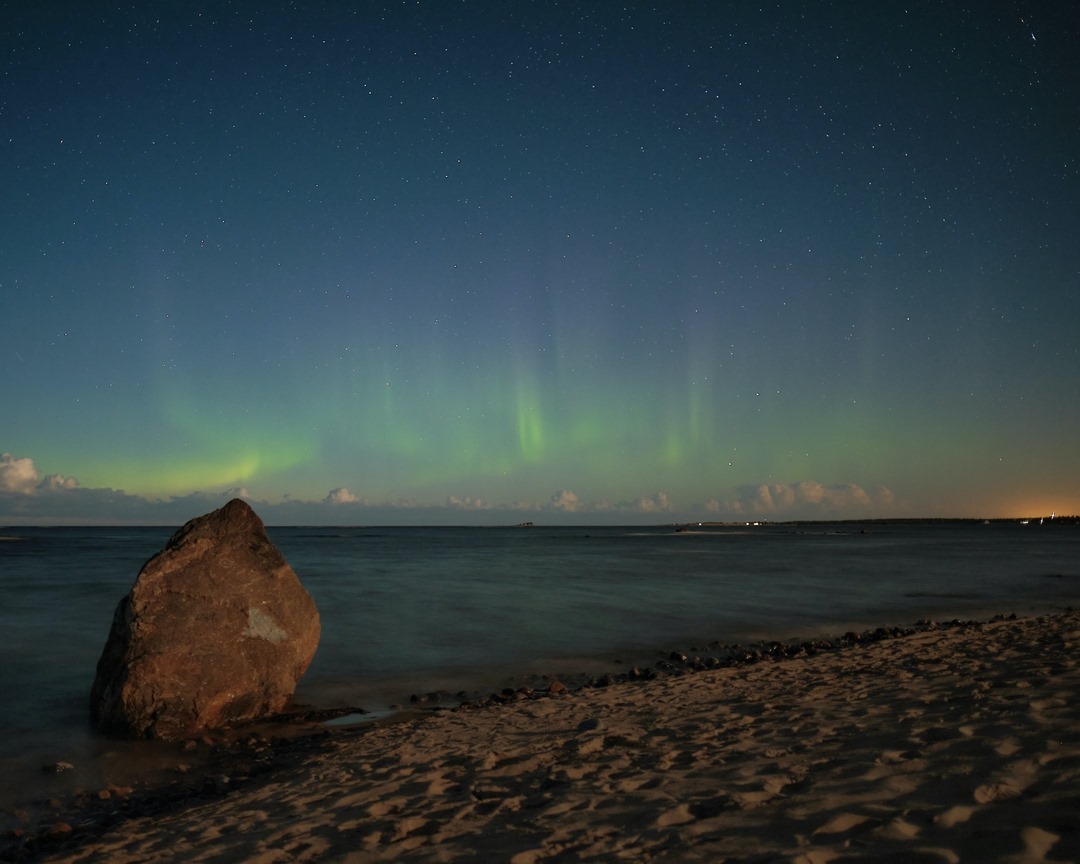
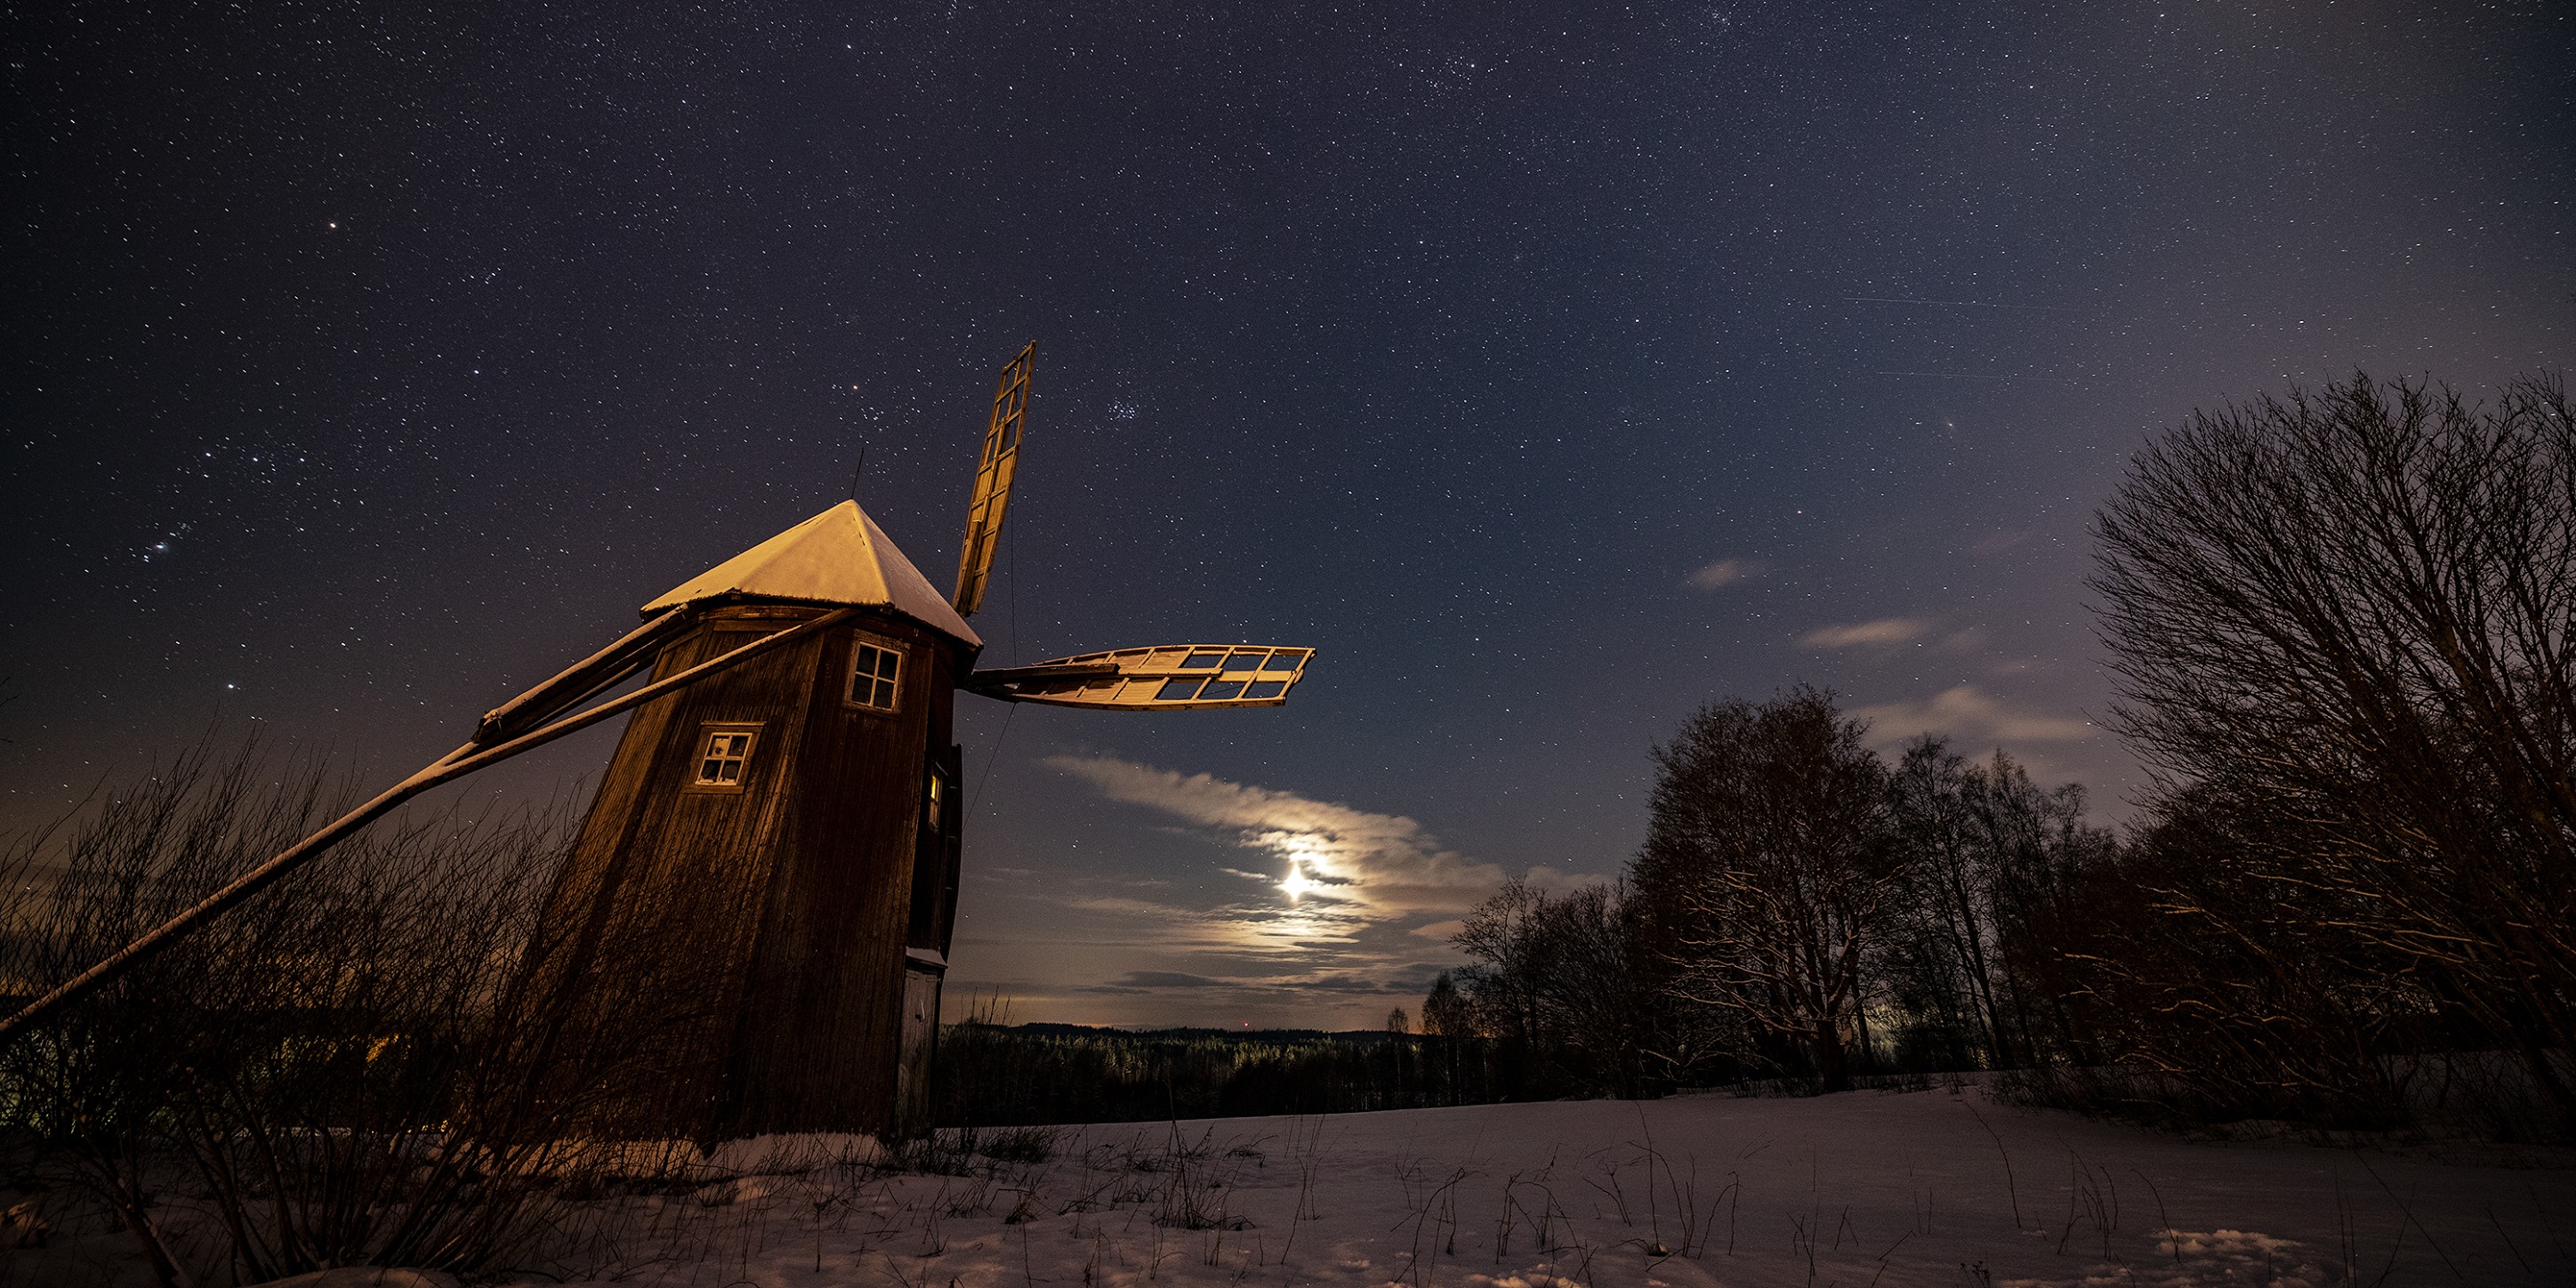
Autumn is a good time to observe and photograph the starry sky because there is no snow on the ground to illuminate the surroundings and the sky is dark enough. The most fascinating object on dark autumn nights is our own galaxy, the Milky Way, which shimmers like a hazy belt of light.
Cold weather can threaten on frosty nights. If you move a little further away from city centers, you will see the sky open up in a whole new way.
In this article, star photography refers to taking pictures that show the starry sky as part of the landscape, or the stars and the Milky Way as they are on a black sky. Nebulae and other wonders of space are another chapter and we will write a new article about them later.
You don't need a camera kit costing thousands of euros to photograph the starry sky, and you can get started with a more affordable camera. All you need is a sturdy tripod and a camera that allows you to manually adjust the exposure time, aperture (f-number), sensitivity (ISO value), and focus.
This guide talks a lot about fast wide-angle lenses, but you can also get started with the kit lens that came with your camera.
The basics are easy to learn, and after that it's up to you how much you want to deepen your learning.
- Location and weather
- Camera, lens and tripod + accessories
- Settings
- Tool recommendations
1. Location and weather
A good location for filming is preferably as far away from the lights of cities and towns as possible. Light pollution is almost always present, even if the light is barely noticeable to the eye, but in the case of smaller towns, you only need to travel a few kilometers out of the center to escape the most disturbing light pollution. The lights of large cities produce so much light pollution that you have to look for a dark place up to 20-30 kilometers away.
Here are a few links that can give you an overview of light pollution in Finland:
https://www.lightpollutionmap.info/#zoom=7&lat=8836377&lon=2971219&layers=B0TFFFF
https://darksitefinder.com/maps/world.html
Go outside on a clear night, as clouds naturally block the view of stars. Schedule your photo shoot during the darkest part of the night to get the most stars in your photo. It’s also a good idea to shoot when the moon is not visible (this is called a new moon) or when there is a maximum crescent moon visible in the sky. If the moon is larger, it will reflect so much light that the sky will look as if it was taken during the day. The glow of the moon can easily wash out stars, especially the Milky Way.
You can see the phases of the moon here:
https://kalender-365.de/kuukalenteri.php
http://www.eeki.biz/kuun_vaihe.php

2. Camera, lens and tripod + accessories
Even the cheapest system camera is a suitable tool for starting star photography. The most important thing is that the camera can be used to manually adjust the shutter speed, aperture (f-number), sensitivity (ISO value) and focus. Star photography can be done with m4/3, APS-C or full-frame camera bodies. If your camera can shoot raw images (RAW), that's great, as this gives you more control options for post-processing.
Choose the widest-angle and brightest lens you can find. A wide-angle lens allows you to cover a larger area of the image, meaning you can also include the landscape in the image. The recommended focal length for full-frame cameras is between 14mm and 20mm, and the widest recommended focal length for crop-frame cameras is 10mm and 17mm. With longer focal lengths, the image area formed by the lenses is smaller, and thus the movement of the stars can be seen even with a fairly short exposure time (for this reason alone, they practically require tracking equipment ).
After the camera, the most important piece of equipment is a sturdy tripod . Shooting handheld is impossible, as exposure times for stargazing vary between 15-30 seconds. If it is windy, do not raise the tripod to its full height. You can also hang a backpack, for example, on the tripod hook, which will make the tripod even more stable.
A remote shutter release is not a mandatory accessory, but it also allows you to take advantage of the camera's timer (self-timer). For long exposures, using a remote shutter release and timer prevents camera shake caused by pressing the shutter button.
Bring a flashlight because it will be dark. You can also use the light to focus the camera and illuminate other objects in the image by light painting.
Once you've packed your camera equipment, remember to take care of yourself. Wear warm clothes and pack something warm to drink. The starry sky is so fascinating that you'll spend a few moments gazing at it, and it usually gets cold.

3. Settings
3.1 Select manual shooting mode on the camera (position M on the control dial)
In manual shooting mode, you can adjust all camera settings (e.g. sensitivity, exposure time)
3.2 Adjust the exposure time to approx. 10-30 seconds.
The exposure time depends on the focal length of the lens used. If the exposure time is too long, the stars will not remain as points, but will stretch due to the movement caused by the rotation of the Earth. You can calculate the appropriate exposure time according to the 500 rule , where the number 500 is divided by the number of millimeters of the lens. This calculation formula must take into account the crop factor of the camera, which is 1 for a full-sensor camera, 1.6 for a Canon small sensor camera, 1.5 for a Nikon small sensor camera and 2 for an Olympus micro camera, for example.
So the calculation formulas would be like this when using a 14mm lens:
Full sensor camera: 500/14mm = 36s.
Canon copper sensor: 500/(14mm x 1.6) = 22s.
Nikon crop sensor: 500/(14mm x 1.5) = 24s
Olympus micro flash: 500/(14mm x 2) = 17s
With most common point-and-shoot cameras and kit lenses (such as the Canon EOS 90D and 18-55mm) the time would be around 17 seconds. 500 / (18 x 1.6) = 17.36.
3.3 Adjust the lens aperture to its maximum (smallest f-number)
The brighter the lens, the better it is for night photography. The reason why a lens with the brightest possible aperture is simply that it collects as much light as possible on the sensor in a relatively short time.
3.4 Initially, set the sensitivity (ISO value) to, for example, 3200.
ISO sensitivity allows you to control and adjust the brightness of an image. If you want a brighter image, increase the ISO sensitivity and if you want a darker image, decrease the ISO value.
3.5 Set the lens to manual focus, or MF mode, and focus at infinity
The camera's autofocus does not detect stars, so you have to focus manually in the dark. The infinity mark on the side of the lens (the hand on the side) is not the "true" infinity point, but rather a guide.
Focusing in the dark can be challenging. A helpful tip is to put the camera image on the rear screen (LiveView) and zoom in on the brightest star at the highest setting. Focus is correct when the stars appear as small as possible on the screen. a street lamp or a house light visible in the distance. If none of these are possible or otherwise successful, point a flashlight at a distant tree and focus on it. Once the lens has been focused, you don't need to touch it again.
3.6 Turn off image stabilization
When shooting from a tripod, it is recommended to turn off the image stabilization. When on, the camera may compensate for non-existent movement, resulting in a blurry image.
3.7 Self-timer / Remote control
For long exposures, it is a good idea to use a remote shutter release to prevent camera shake caused by pressing the shutter button. This is not a mandatory accessory, as the camera can also be set to self-timer. If you do not have a remote shutter release, set the self-timer to 2s or 10s in the camera settings. When you press the shutter button, the shake caused by pressing the shutter button will have time to dissipate before the camera starts taking the picture.
Good luck on your photography trips, Kameralieke wishes you clear weather.
If you want guides like this and campaign offers right away, it's worth subscribing to our newsletter!