ND filter or neutral density filter
An ND filter is a tool that should be in almost every photographer's backpack. For those buying their first filter, the choice can be confusing, as there is a huge selection, and it is not really clear which filter would be right for their use. When do you need an ND1000 filter and an ND8 filter? This guide aims to make filter selection easier and provide tips for using the filter.
What is an ND filter?
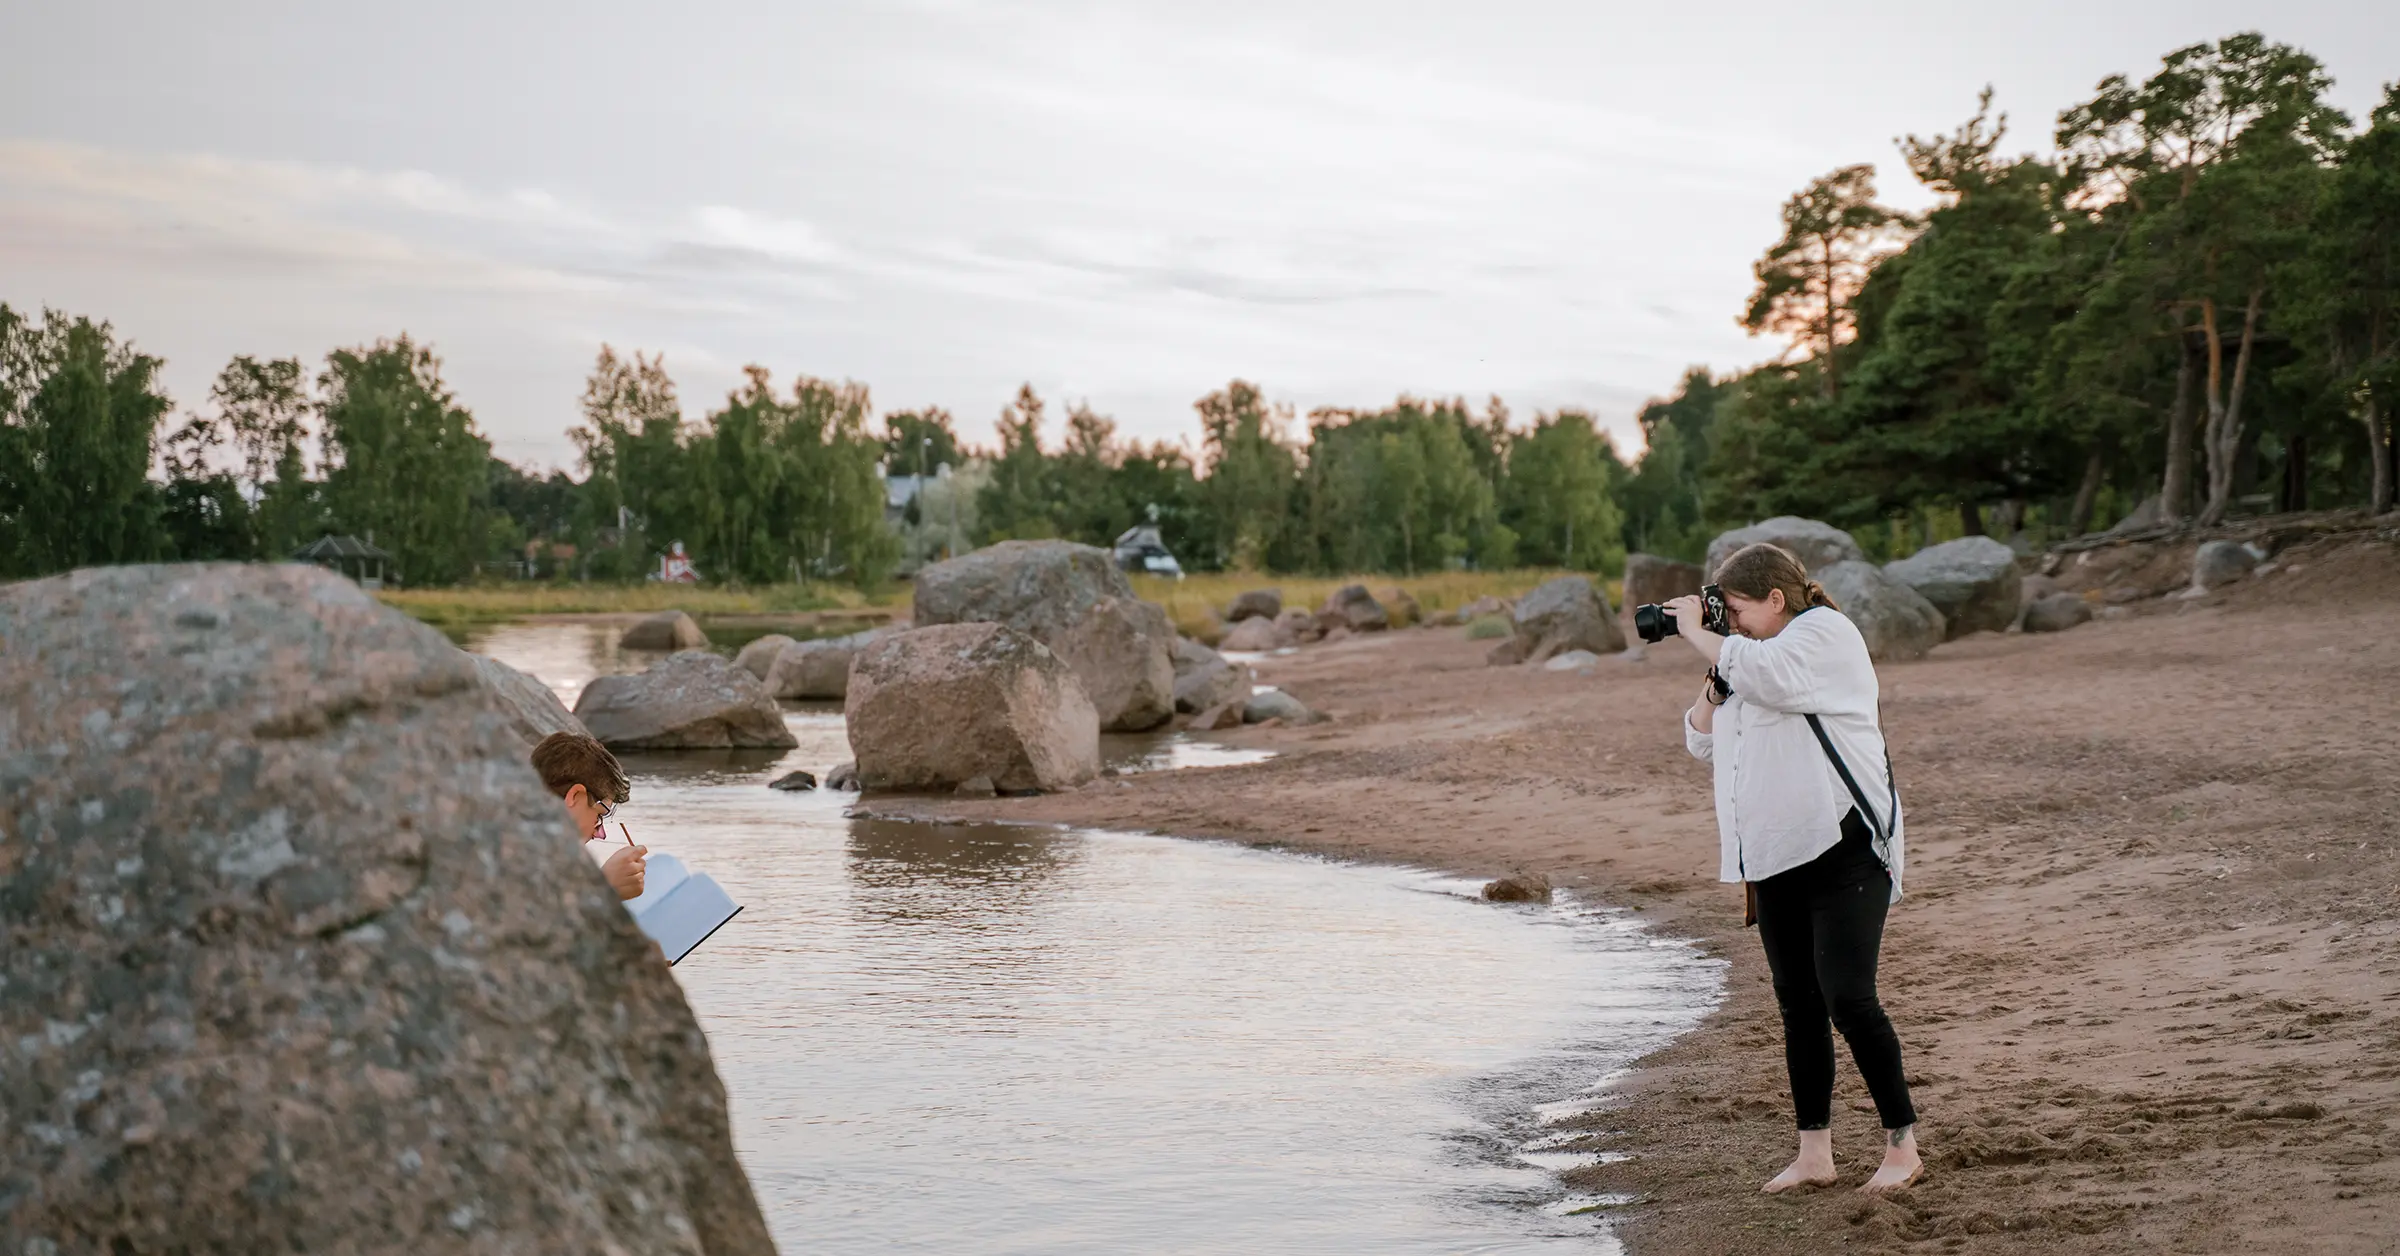
The ND filter, or neutral density filter, is a friend to nature and outdoor photographers, but it is also useful in studio photography. An ND filter can be thought of as a pair of sunglasses that you add to the front of your lens. It reduces the amount of light that reaches the camera sensor.
The filter allows you to use a large aperture in bright daylight. The ND filter is often used to achieve motion blur when photographing objects that are constantly in motion, e.g. flowing water or people moving on the street. The ND filter is also a great tool for creating more artistic images, e.g. with ICM (intentional camera movement). The ND filter can also be used to photograph wedding photos and portraits in bright daylight with low aperture values and low ISO sensitivity. Without the filter, the images would be overexposed in most situations. For videographers, the ND filter allows for smoother video recording.

What do different ND values mean?
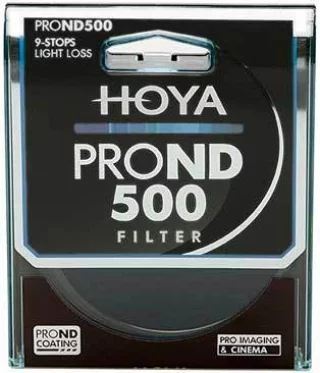
The intensity of the filter's darkening is described by aperture values (f-stop). An ND filter with a lower value, e.g. ND2, lets more light through (darkens the image by one aperture), and a filter with a higher value, e.g. ND1000, lets less light through the filter and its darkening effect on the image is already -10 apertures.
ND filters have a scale of one stop (ND2, ND4, ND8, ND16…). One stop always reduces the amount of light by half.
So, for example, if you have a one-second exposure time without an ND filter, you would change the exposure time to 2 seconds with an ND2 filter, 4 seconds with an ND4 filter, 8 seconds with an ND8 filter… etc.
The table below gives you an idea of how many stops each ND filter darkens the image. You can use various ND filter calculators that can be downloaded from app stores for your phone to help you calculate exposure times.

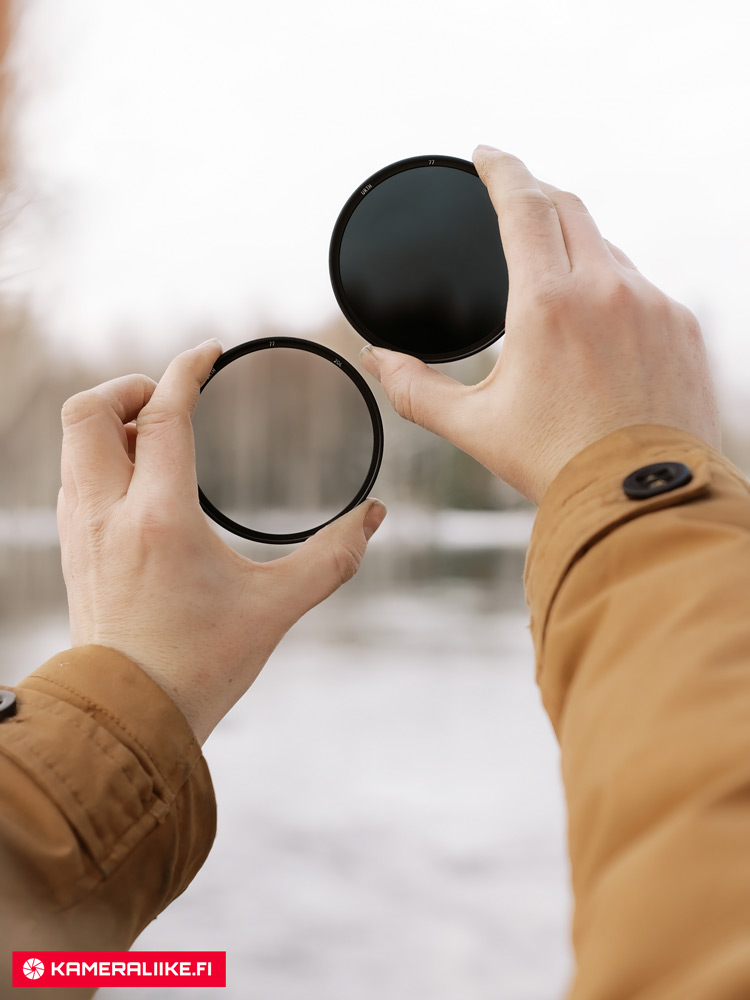
What is the difference between an adjustable and fixed ND filter?
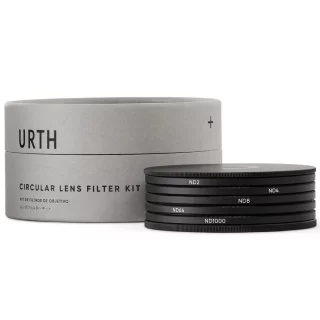
An adjustable ND filter is a filter that can reduce the light entering the camera by 2-10 stops, although this can vary. This means that you don't need to change or stack the adjustable ND filter, but you can adjust the amount of darkening by turning the filter.
A fixed ND filter has only one darkening (ND value) in one filter. This means that these are changed or stacked to achieve the desired result.
Which ND filter should I buy?
There is no single right answer to this. The conditions and the way you shoot will determine which filter is best for you.
An adjustable ND filter is a good choice when working in conditions where lighting conditions change quickly or you don't want to switch or stack filters.
Fixed ND filters are a good choice when photographing in stable conditions, where the lighting conditions do not change radically or when there is otherwise time to change filters in the shooting situation. Such are, for example, studio conditions, but also in a milieu, if you are photographing a certain type of scene, such as a landscape, with a long exposure time and you know what settings to use.
So the right ND filter for you is the one that best suits your shooting style.
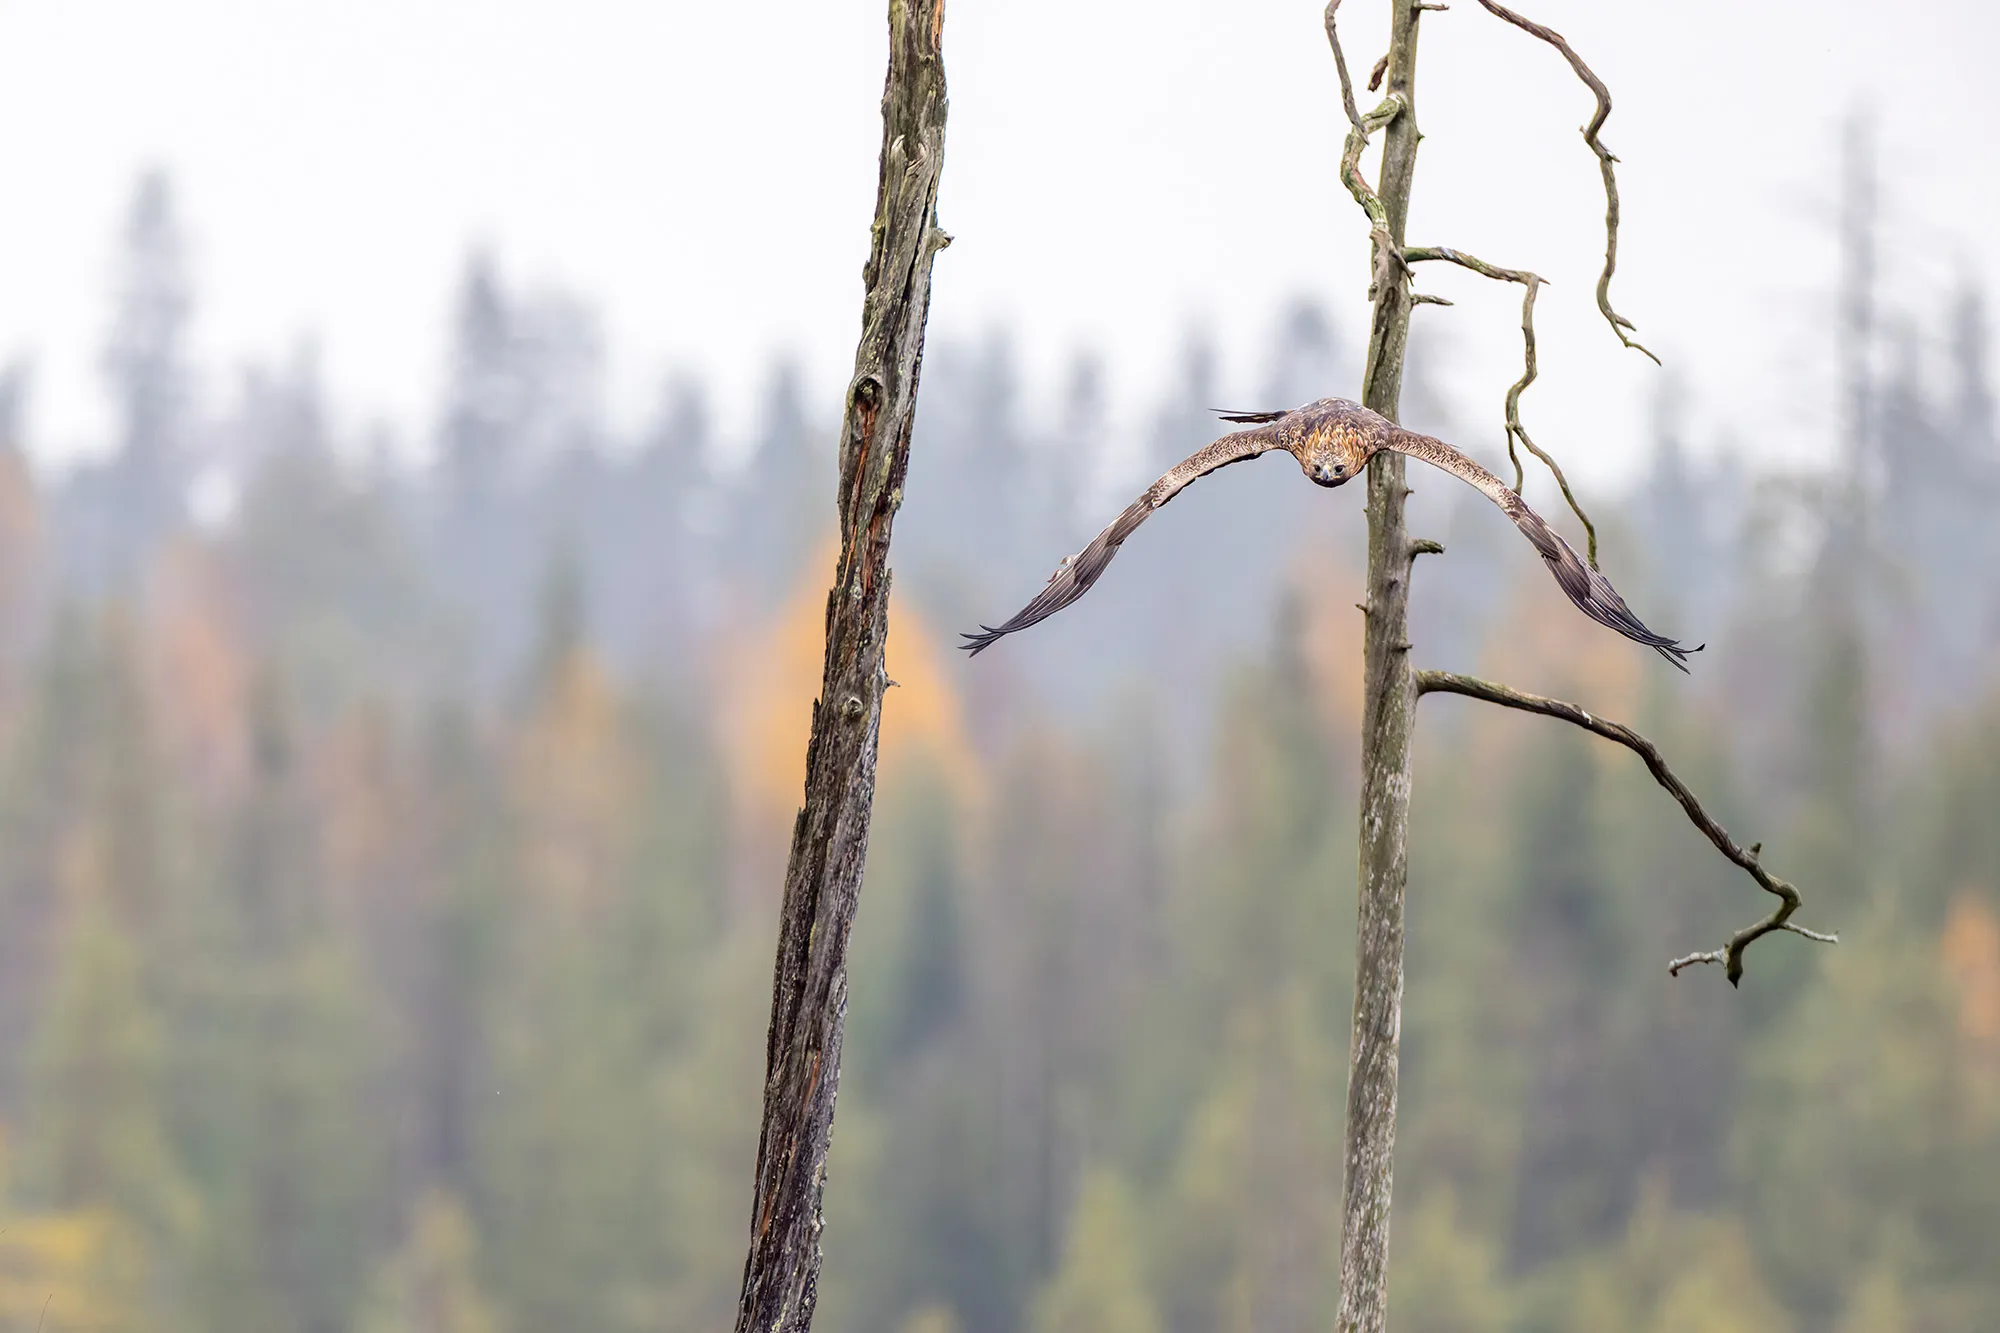
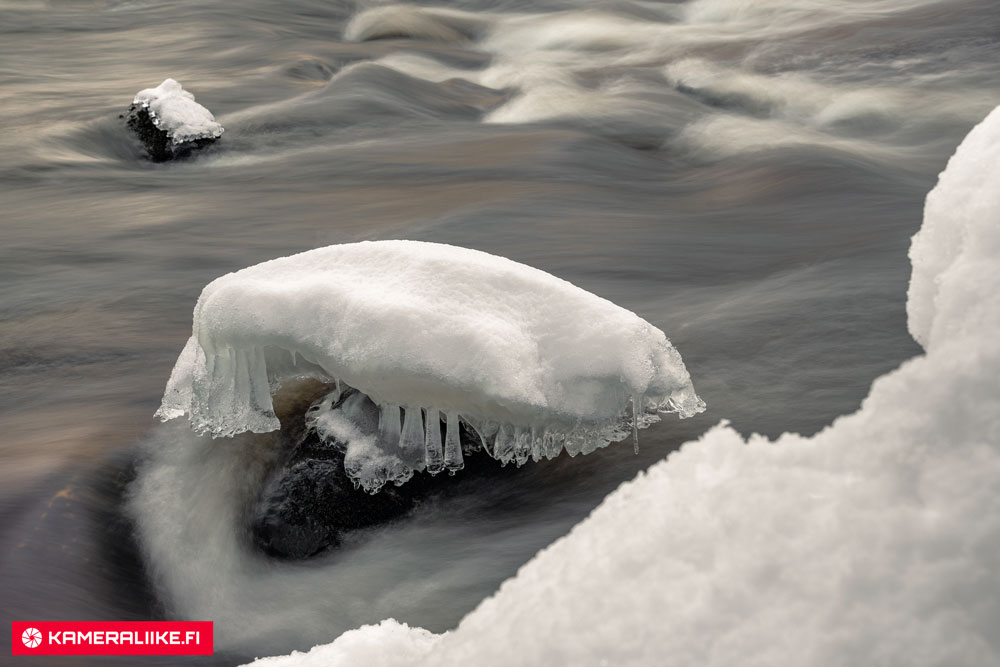
ND filter for landscape photography
If you are shooting landscapes and would like to use long exposures to photograph sunrises, sunsets or flowing water, the most versatile choice for this in fixed ND filters is the ND64 filter, which reduces the light reaching the camera sensor by 6 stops.
When photographing, for example, sunsets, sunrises, blue hour or golden hour moments, the exposure time is most often between 2-4 minutes, with an ISO of 100 and an aperture of f11-f18, with an ND64 filter the exposure time is between 2-4 minutes. By lowering the ISO to 50, you can double the exposure time.
For example, by stacking ND64 (darkening -6 stops) and ND8 (darkening -3 stops) filters, you will already have the amount of light reduced by 9 stops.
Of the fixed ND filters, the ND64 is the most versatile. Of course, if you want more options or adjustability, consider also purchasing an adjustable ND filter.
ND filter for wedding and portrait photography
If you are a wedding or portrait photographer and want to shoot portraits with low aperture values (f 2.8, f 1.4…) and low ISO sensitivity, the most suitable ND filter for you might be ND8, which darkens the image by 3 stops.
ND filter for artistic images, urban environments or long exposures at midday
When you want motion blur in your images, for example so that people are not recognizable in the images or for abstract artistic landscape images, then an ND1000 filter is a good choice (darkening -10 stops). In this case, you can also consider an ND64 filter (large 50) or stacking ND64 and ND8 filters (large 100).
Buying an ND filter
ND filters are sized according to the diameter of the lens and are represented by the symbol ø followed by the size in millimeters. The lens diameter of a lens can usually be found on the side of the lens or you can look it up online by searching for technical specifications.
The problem here is that you can often have multiple lenses in use, each with its own diameter. There is a solution for this too (below).
Step-up tires
Step-up rings are adapters that screw between the lens and the filter, allowing you to fit larger filters onto smaller lenses.
ND filter quality
When buying a camera filter, always invest in quality. A bad filter will ruin your image at worst. If you are on a tight budget, buy one high-quality fixed ND filter rather than several low-quality ones or a low-quality adjustable filter.
Treat filters gently, just as gently as you would lenses. A microfiber cloth and a dust blower are a good addition to your camera backpack, allowing you to quickly clean the filter and lens.
See our entire range of grey filters here
[product carousel: 15889, 25861, 22863, 22857, 22858, 22864, 22856]