
Black and white film development - a guide to developing film at home

Over the past three years, interest in film photography and developing films at home has increased significantly. A novice film developer is probably full of questions and doesn't really know where to start, what kind of equipment is needed, etc. In this article, we will go through the process of developing black and white film. Maybe the film development fly will bite you and you will be excited to learn more about the subject. Welcome to the exciting world of black and white film development!
Note: This article explains how to develop film at home. Our and Mikko's customers' films are developed in a Fuji professional lab or a Jobo rotary processor and dried in a film drying cabinet.

Mikko Kankainen, a professional photographer familiar to many Mikkeli residents, promised to tell us about the stages of developing black and white film, and we visited Mikko's studio/film lab at Rahula School to learn about the process. But first, let's ask Mikko to introduce himself.
I am Mikko Kankainen, a photography entrepreneur since 2010. I run a workshop here at the former school in Rahula, and I am also actively involved in village activities, the center of which is this former school. The main part of my work is photography, but I consciously want to take time out from it and work with my hands instead of shooting. Then I develop films and make paper prints.

I think of film development services more as a cultural act than a business, and filmmaking is also close to my heart, I film a lot of my own life on film. I like to joke around, live in the moment, enjoy life with my family, be in nature, think about life, and be a good guy to everyone.

What supplies are needed to develop film at home?
To develop black and white film you need:
-Scissors
-Development tank (e.g. Paterson)
-Pure water
-Development either diluted or raw
-Interruption (just water works too)
-Fixative
-Photoflow for rinsing if the water leaves limescale marks
-Clock
-Measuring container for chemicals
-Funnel
-Thermometer
-Darkroom or darkroom bag (a dark room also works)
-Tools for drying the film (tongs / soft sponges / fingers)
-Clothespindle for hanging the film
-Dust-free space for drying developed films (e.g. bathroom)
Instructions for film development
Before starting to develop the film, check the temperatures of all the chemicals. They should be at the same temperature, around 20 degrees.

What is the development process for black and white film like?
1. Have all the supplies you need for film development ready and within reach.
2. First, remove the film from the camera, make sure you have rewound the film to the end before removing it. To make the next step easier, however, it is not a good idea to rewind the film all the way to the end, but leave a little bit of it exposed.
3. Pull the end of the film out of the roll just a little and cut bevels/roundings at the beginning of the film to make it easier to roll the film into a spiral. If the film has wound all the way into the roll, you can pull it out with a film puller.
4. Attach the beginning of the film to the spiral in the developing tank and then transfer the film, spiral, tank, tank lids and scissors to a darkroom bag and close the zippers.
5. Insert your hands into the darkroom bag through the holes on its edges and start rolling the film onto the spiral by holding the edges of the spiral and rotating them in opposite directions. (see video)
6. Once the film has been completely wound around the spiral, transfer it to the tank inside the darkroom bag, replace the chemical funnel and tank lid.
7. Check the bottom of the tank for the amount of chemical needed. The amount of chemical depends on the size of the film and how many rolls of film are to be developed. The Paterson developing tank can develop 1-2 rolls of 35 mm film or one roll of 120 mm film. Of course, the amounts vary depending on the tank type, approximately the same as in my piece and the same as in the video.
8. Pour the developer into the tank, making sure the lids are closed properly. Make sure you have the correct development recipe for the film you are using using the Massive Dev Chart Film Developing App or for free on their website . Start the clock! Start turning the tank upside down according to the instructions in the app and take a break when the app tells you to. Remember to tap the film tank lightly on the table once after turning.
9. Pour the developer chemical out of the tank into a recycling container or back for reuse if you have not diluted it.
10. Stop the development, either with a stopping chemical or water. Turn the tank regularly according to the instructions in the app. Pour off the stopping agent.
11. Measure the fixing chemical according to the instructions and pour it into the tank. Turn it again according to the instructions.
12. Pour off the fixer chemical and rinse thoroughly. It is recommended to use the so-called Ilford washing method to wash the film, so that the fixer can be washed effectively but using as little water as possible. Basically, it goes like this: fill the tank and mix five times, change the water and mix ten times, then 20 and just to be sure, you can also do this a second time just to be sure.
13. Pour photoflow into the tank to remove the surface tension of the film. Photoflow is not mandatory, but it helps water drain off the surface of the film during the drying phase.
14. Pour off the photoflow and hang the film to dry.
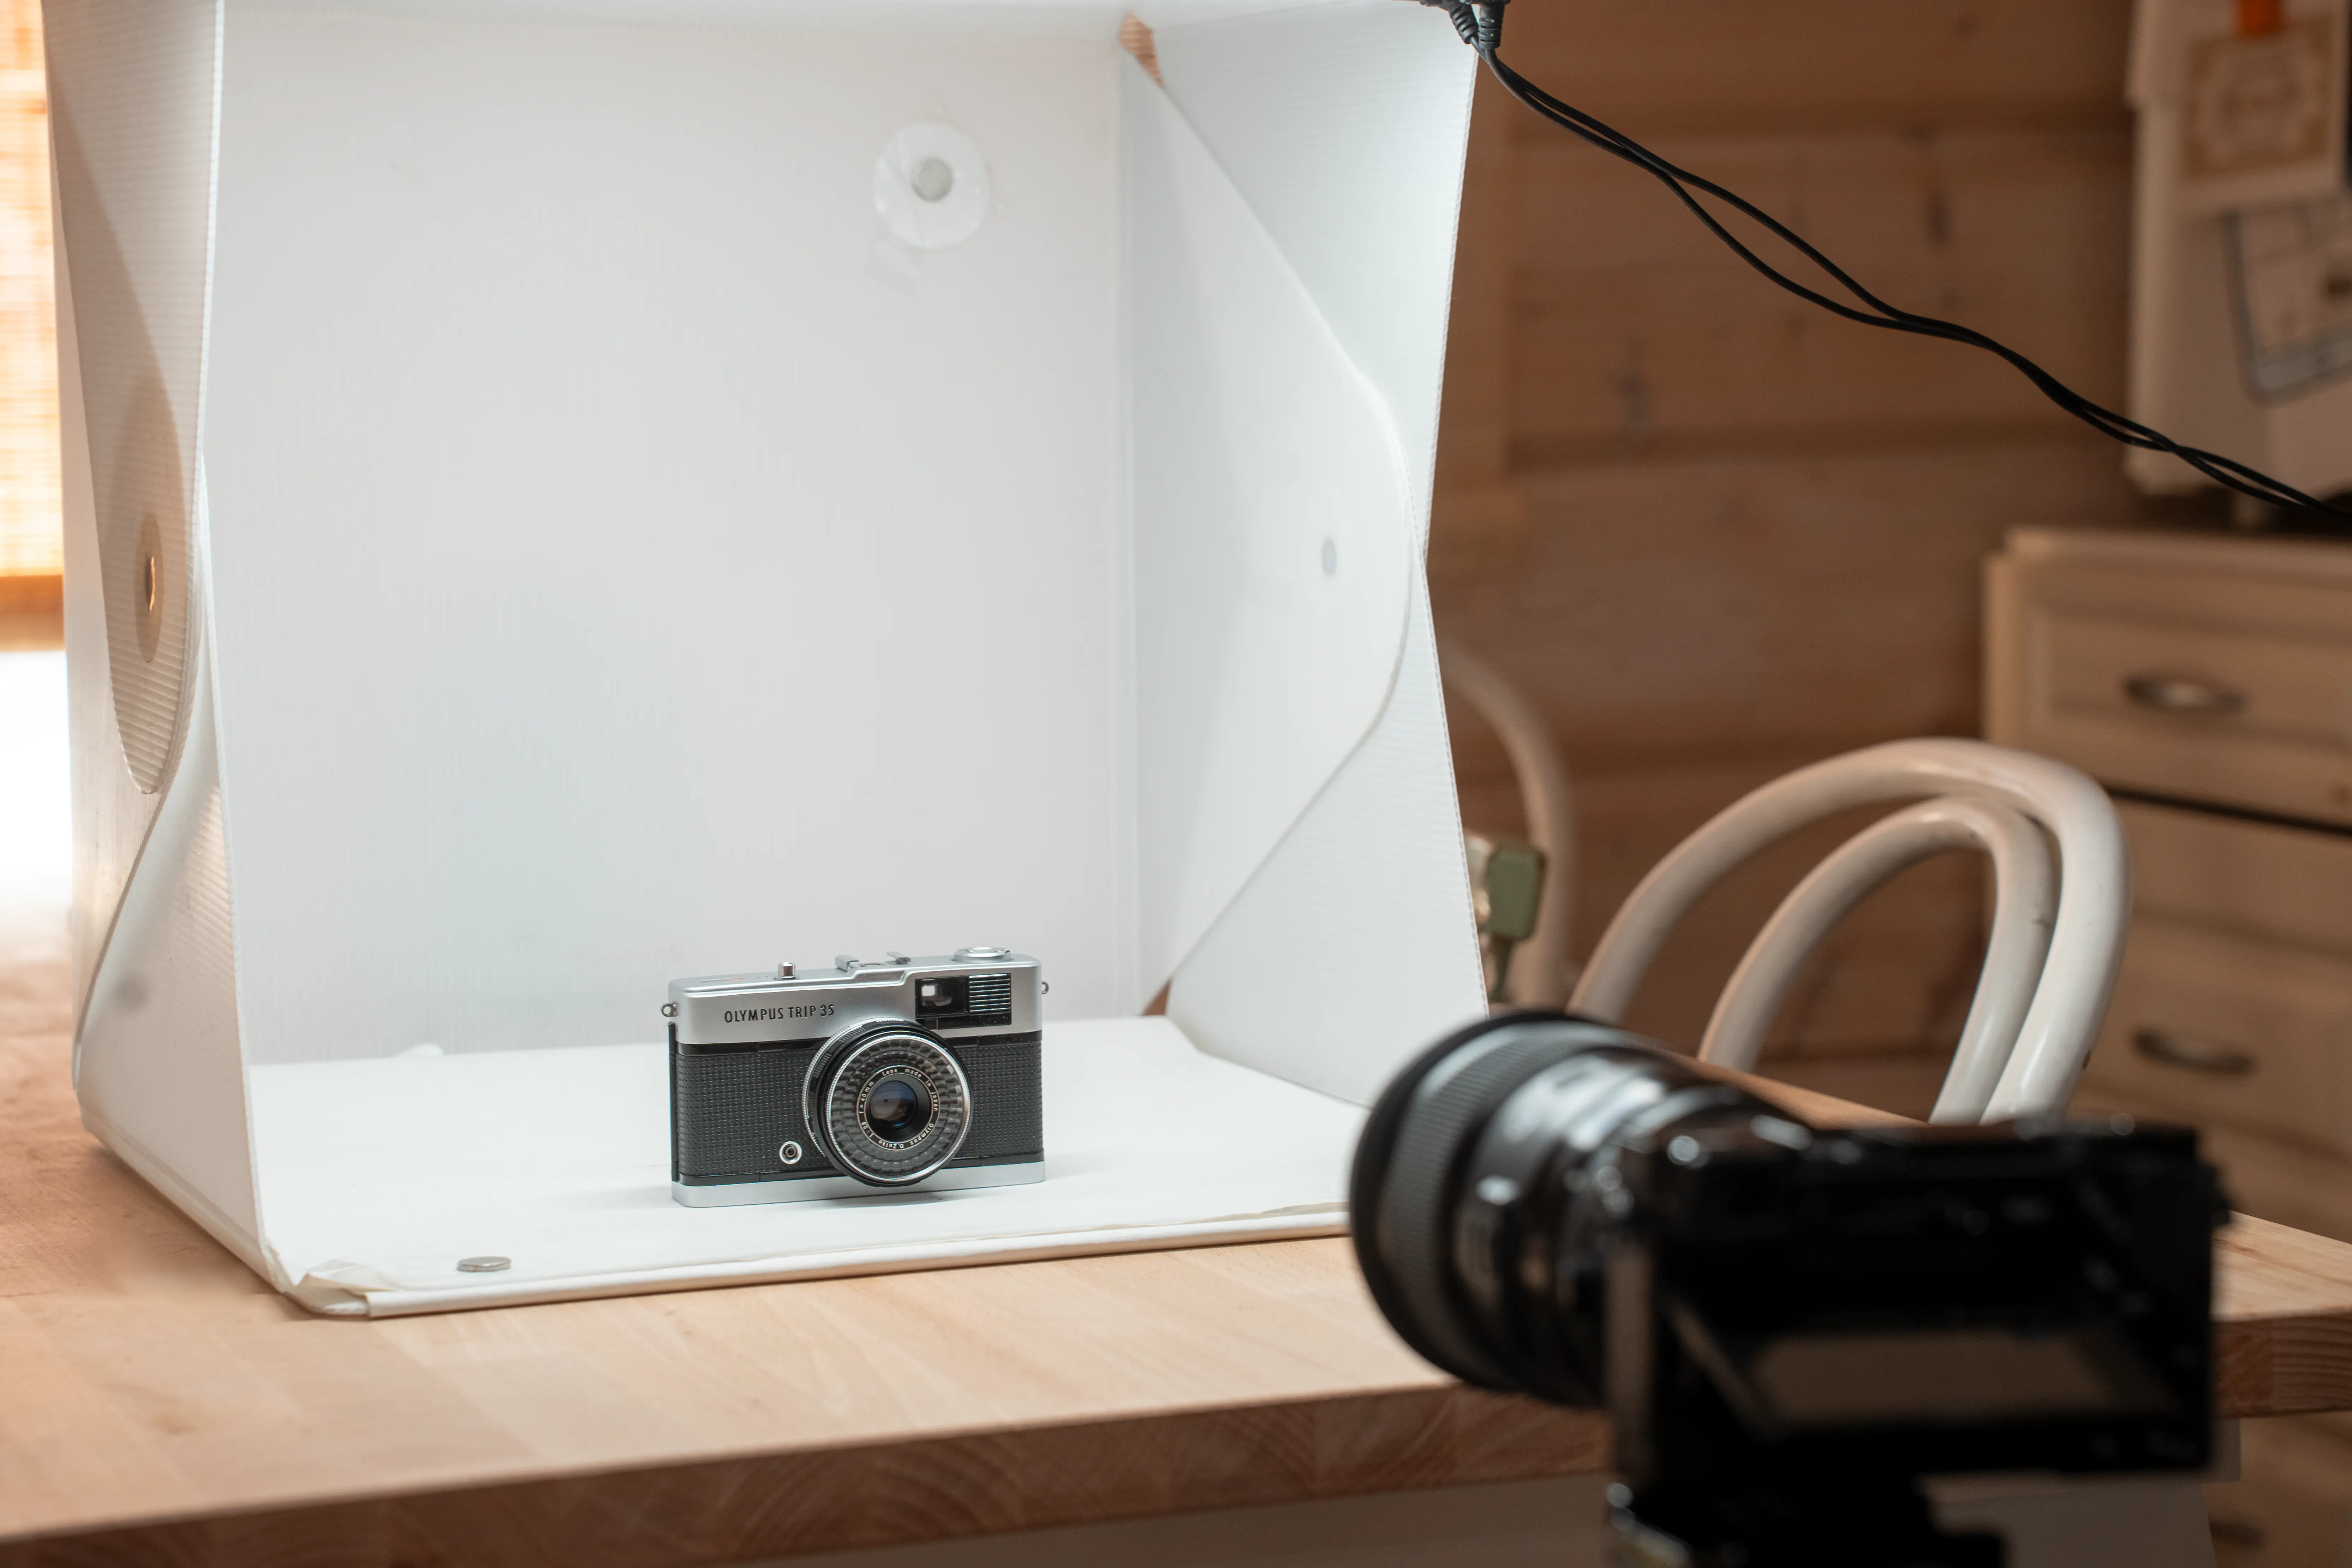
15. To get the images from your developed film into photographs, you will need a scanner or a film scanner that connects to your camera. Or you can take your developed film to a photo shop to be scanned.

What are the advantages of developing black and white film at home?
Film development is a fun activity that allows you to see the process of making your images from a whole new perspective. Developing your own films also saves you money and allows you to influence the outcome of the development by using different brands of developer and different development techniques. If you are interested in the subject, we encourage you to learn more about it and, for example, take a course where you can develop your first film under supervision.
What are the disadvantages of developing black and white film at home?
Film chemicals tend to leave marks on furniture and tiles in the home when they spill. The splashes do not come from the furniture. In addition, it is more difficult to dry the films in a dust-free space at home. Dust leaves marks on the surface of the film.
Are development chemicals toxic? How is their recycling done?
It is worth checking the recycling instructions for developer chemicals on the side of the packaging. They provide instructions on the appropriate recycling method for the chemical.
If you are more interested in film photography or film development, where can you learn more about these?
Mikko has occasionally organized a course on black and white film shooting and development, so it's worth asking him if there are any upcoming courses. Camera Societies also occasionally organize courses on the subject. If you're more interested in the subject, there is a Finnish Darkroom Artists Association in Finland, which regularly organizes training on the subject.

You can explore our selection of cameras, films and accessories for film photography here .
Professional photographer Mikko Kankainen
Website: https://kankainen.org/
Instagram: https://www.instagram.com/mikkokankainen/
Facebook: https://www.facebook.com/kankainen.org