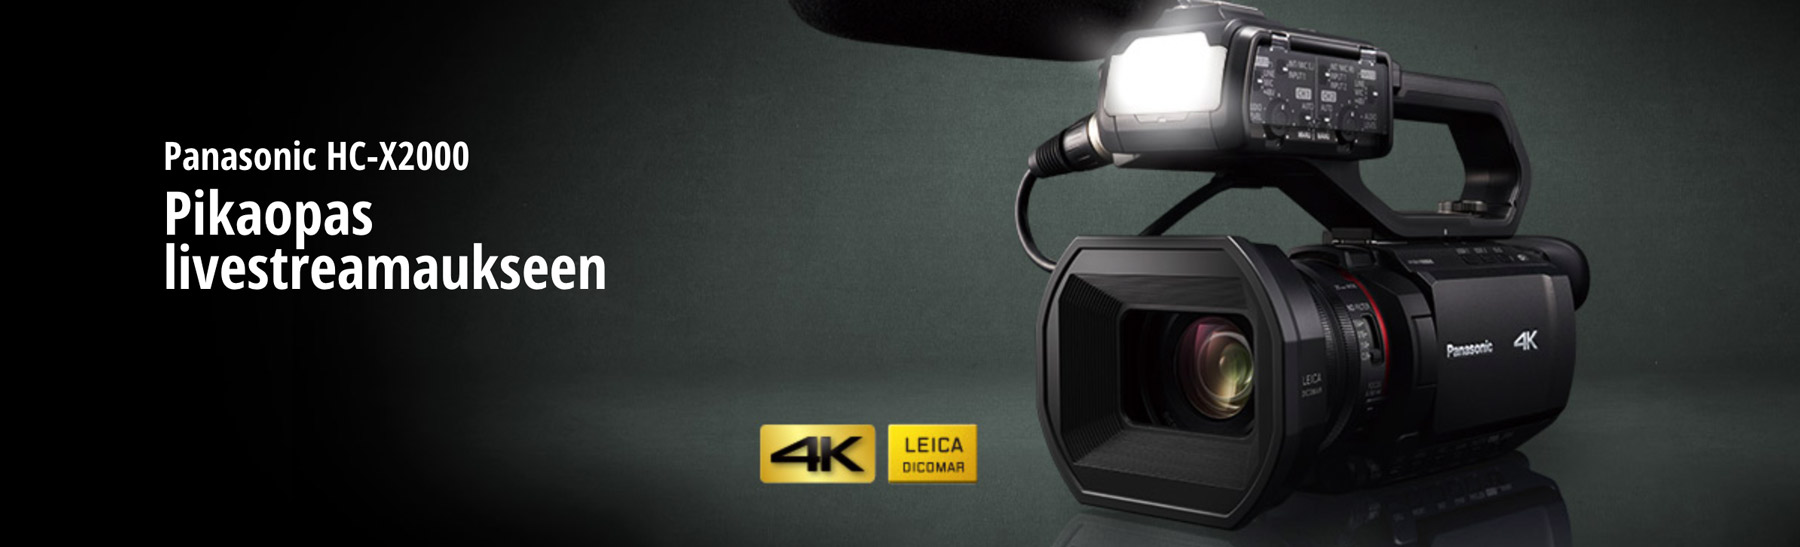
In this guide, we'll summarize the tips from Panasonic Nordic expert Martin Wallgren's video and show you how easy it can be to create a professional-quality live stream.
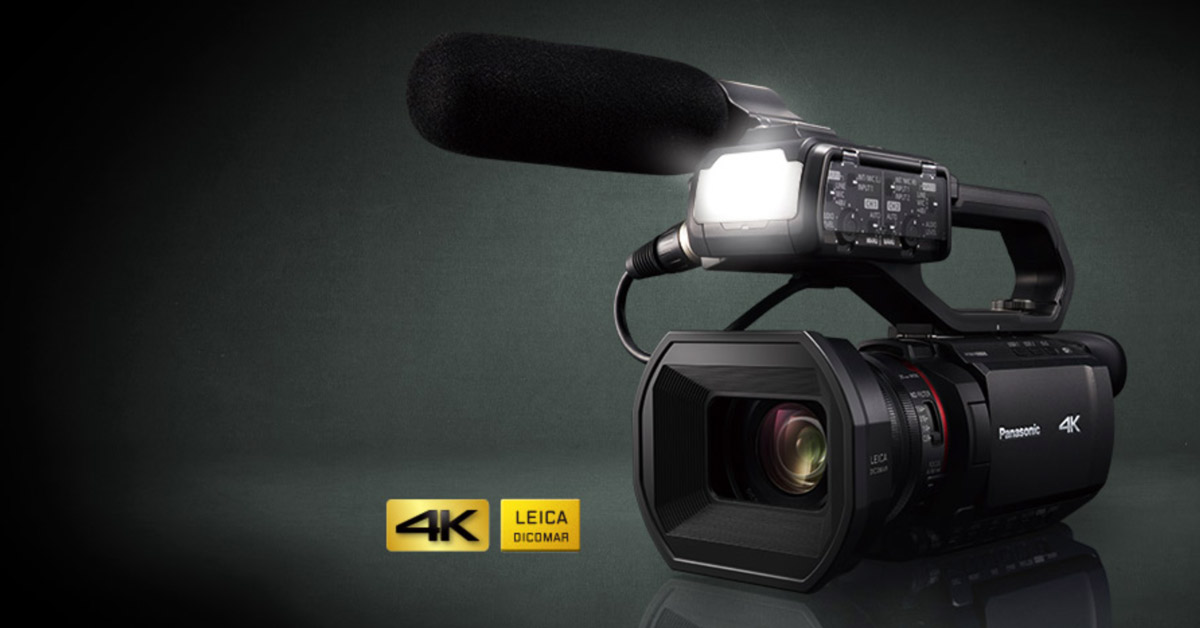
The new Panasonic HC-X2000 camcorder is used as an example device. Streaming is also possible with phones and compact cameras these days. However, this more traditional camcorder offers many good features, especially for professional productions: a decent microphone and audio inputs also via XLR connectors, unlimited video duration (i.e. no 30 min limit and the device does not overheat). This is especially important when recording conferences and, for example, sports competitions.
These instructions also work perfectly with the Panasonic HC-X1500 camera, the live features are the same but the camera lacks the XLR connectors located in the handle, the audio mixer and the LED shooting light.
In addition, the Panasonic HC-X2000 supports live broadcasts directly from the camera: you don't need separate software or a computer, just a WIFI internet connection is enough. For gigs and on the road, a rechargeable base station with a fast 4G connection ( or even internet sharing with a smartphone!) is basically enough.
Panasonic also has a more robust camera, the AG-CX10 , which has the same features as the X2000 model but can also stream via a wired Ethernet network connection. This is suitable for large mass events where the reliability of wifi can suffer! In that case, we also recommend a UHF-band audio recorder such as the Saramonic UwMic9.
Adjusting Panasonic HC-X2000 settings for live broadcasts
Network settings:
- Open the menu, go to network settings
- Turn on WLAN
- Select Infrastructure from the settings and find the correct network by name
- Log in to the correct Wifi network
- Nipple setting: select Client side DHCP from the IPV4 settings (in this case the camera will automatically obtain an IP address)
- Select Streaming setting from the Network functions menu
Stream settings
In most cases, FullHD 1920x1080 is perfectly sufficient, the quality is good and the requirements for the internet connection are lower than 4K video. If you have an unreliable or slower mobile connection, choose the standard HD resolution.
It is recommended to choose a 30P frame rate. In Europe, 25P is often used, but 30P may work better on streaming services like YouTube.
However, you can choose the camera's shutter speed, according to the traditional video shooting rule, to 1/50, so that the lighting does not cause flicker in the image.
Bitstream
- 6MB/s on a fast connection, if the internet connection is slower (e.g. shared via phone or congested, it is recommended to choose a 1-2MB/s setting)
Start trigger
- Select a camera. This will start the stream from the camera. You can program the start of the live broadcast to the camera's adjustable Custom buttons.
Receiver URL
- This setting includes the stream server address and server key. For example, on Youtube, this setting includes the address in the first field and the stream key in the second. You can get this information directly from the Youtube dashboard.
Note: these settings only need to be adjusted once, so if the steps seemed tedious now, later all you need to do is connect to the previous network and turn on the broadcast. These settings can also be saved to a memory card and loaded directly from there. This is handy if you often need to change settings for different channels or services, just insert the memory card named for example Floorball Tournament Youtube.
Prepare!
After this, icons will appear at the top of the camera screen, indicating that the wifi connection is on and that the camera is set to stream. Press the button and the broadcast will begin! In principle, all services such as Facebook, Youtube and Twitch work with similar settings.
Additional tips for a professional live broadcast:
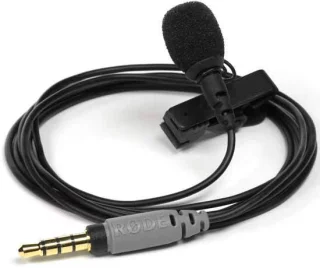
The camera's internal microphone is of very high quality. If the room is of the echo type, even a good internal mic won't save it. A cheap and good solution is, for example, Rode SmartLav+ . The microphone can be connected to the camera with a cable, but nowadays there are cheap and good wireless options such as Saramonic Blink 500 B1 . Saramonic Blink includes a ready-made set that includes a button mic and a wireless transmitter and receiver. This is a very convenient solution if the camera is located far away or the video performer is of the mobile type.
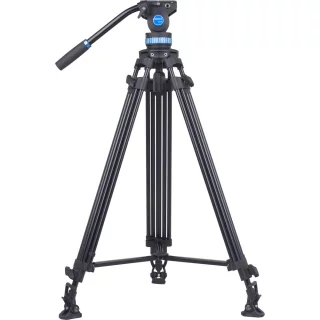
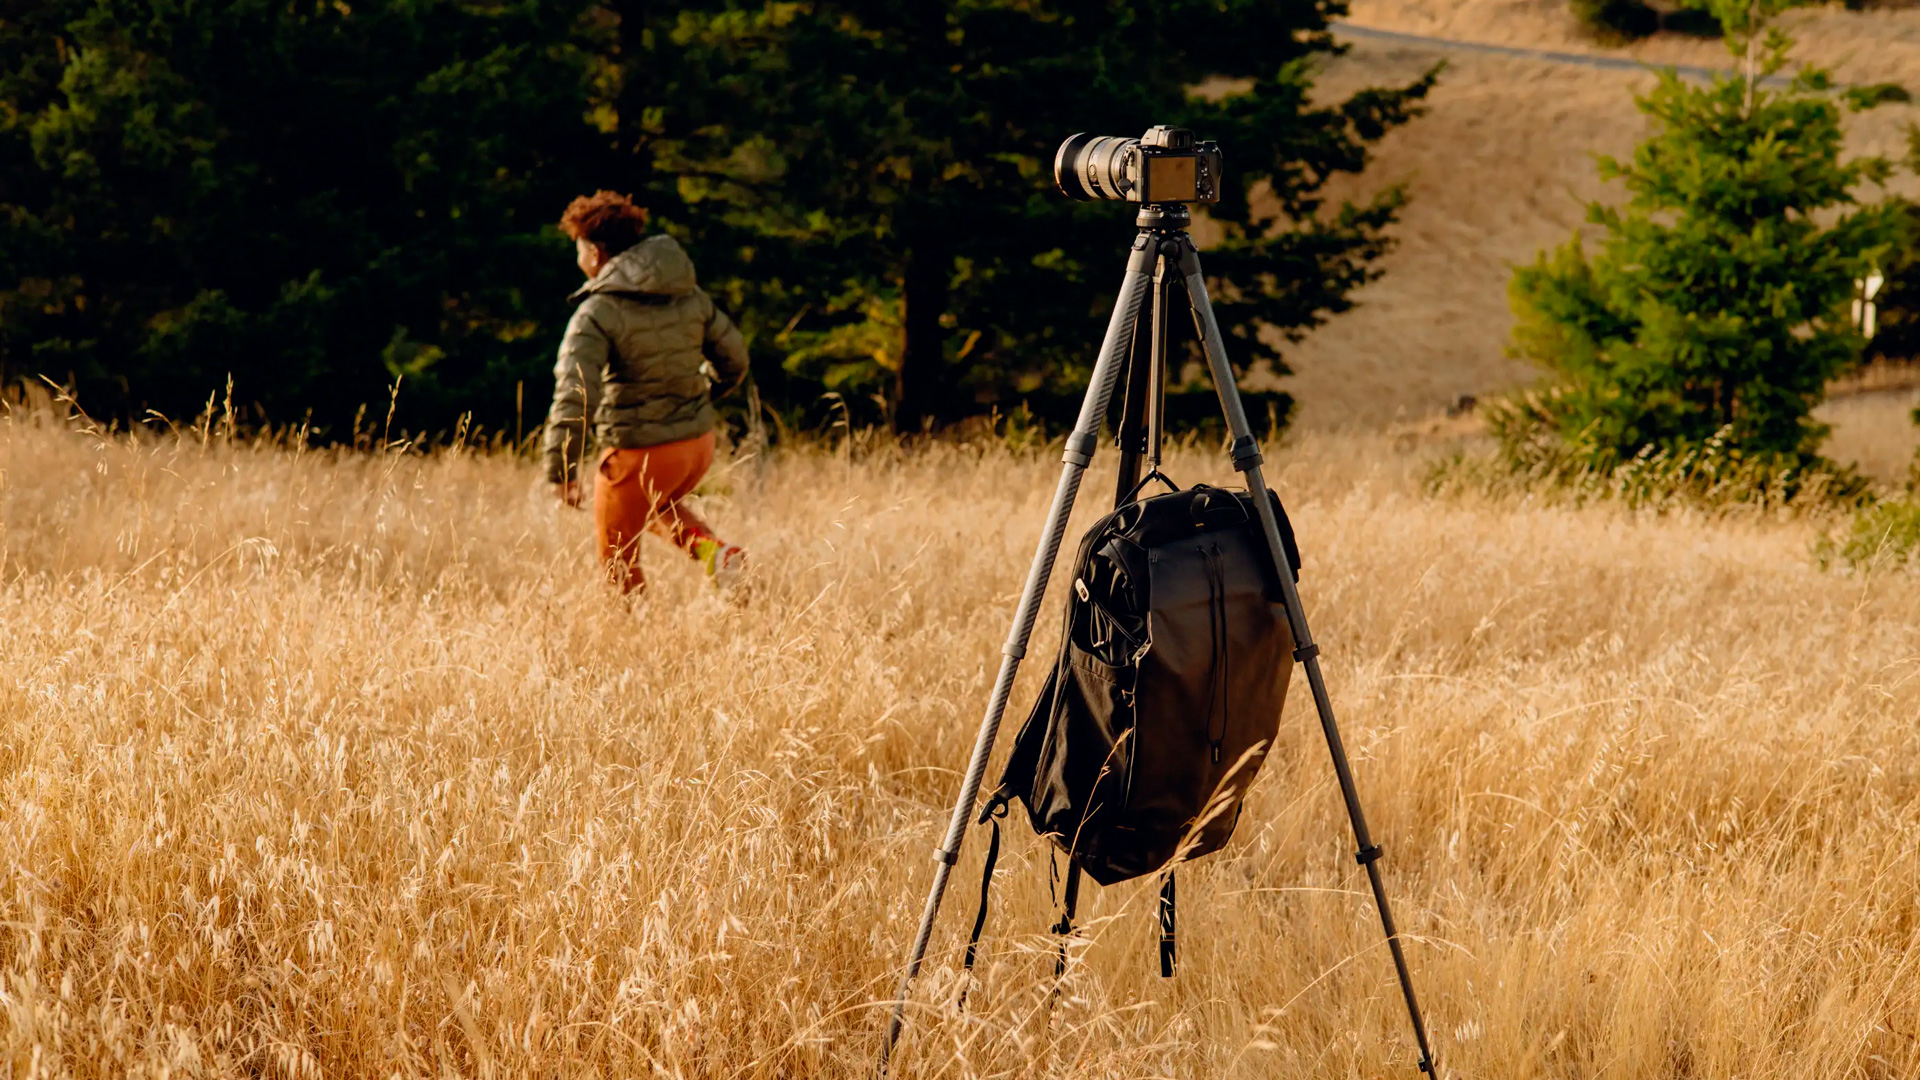
A good tripod is a videographer's best friend. The tripod should be sturdy enough, and if you move the camera during filming, it is absolutely essential to use a good video head to ensure smooth movements. A tripod suitable for a compact gig set is the Manfrotto BeFree Live , and a slightly sturdier solution for demanding use is the Sirui SH-25 video tripod.
Streaming directly from the camera is convenient, but if you want to use multi-camera broadcasts, picture-in-picture effects, or overlays of name information or text, you need to use a computer and some software between the camera and the streaming service. A good and completely free program is OBS Studio .
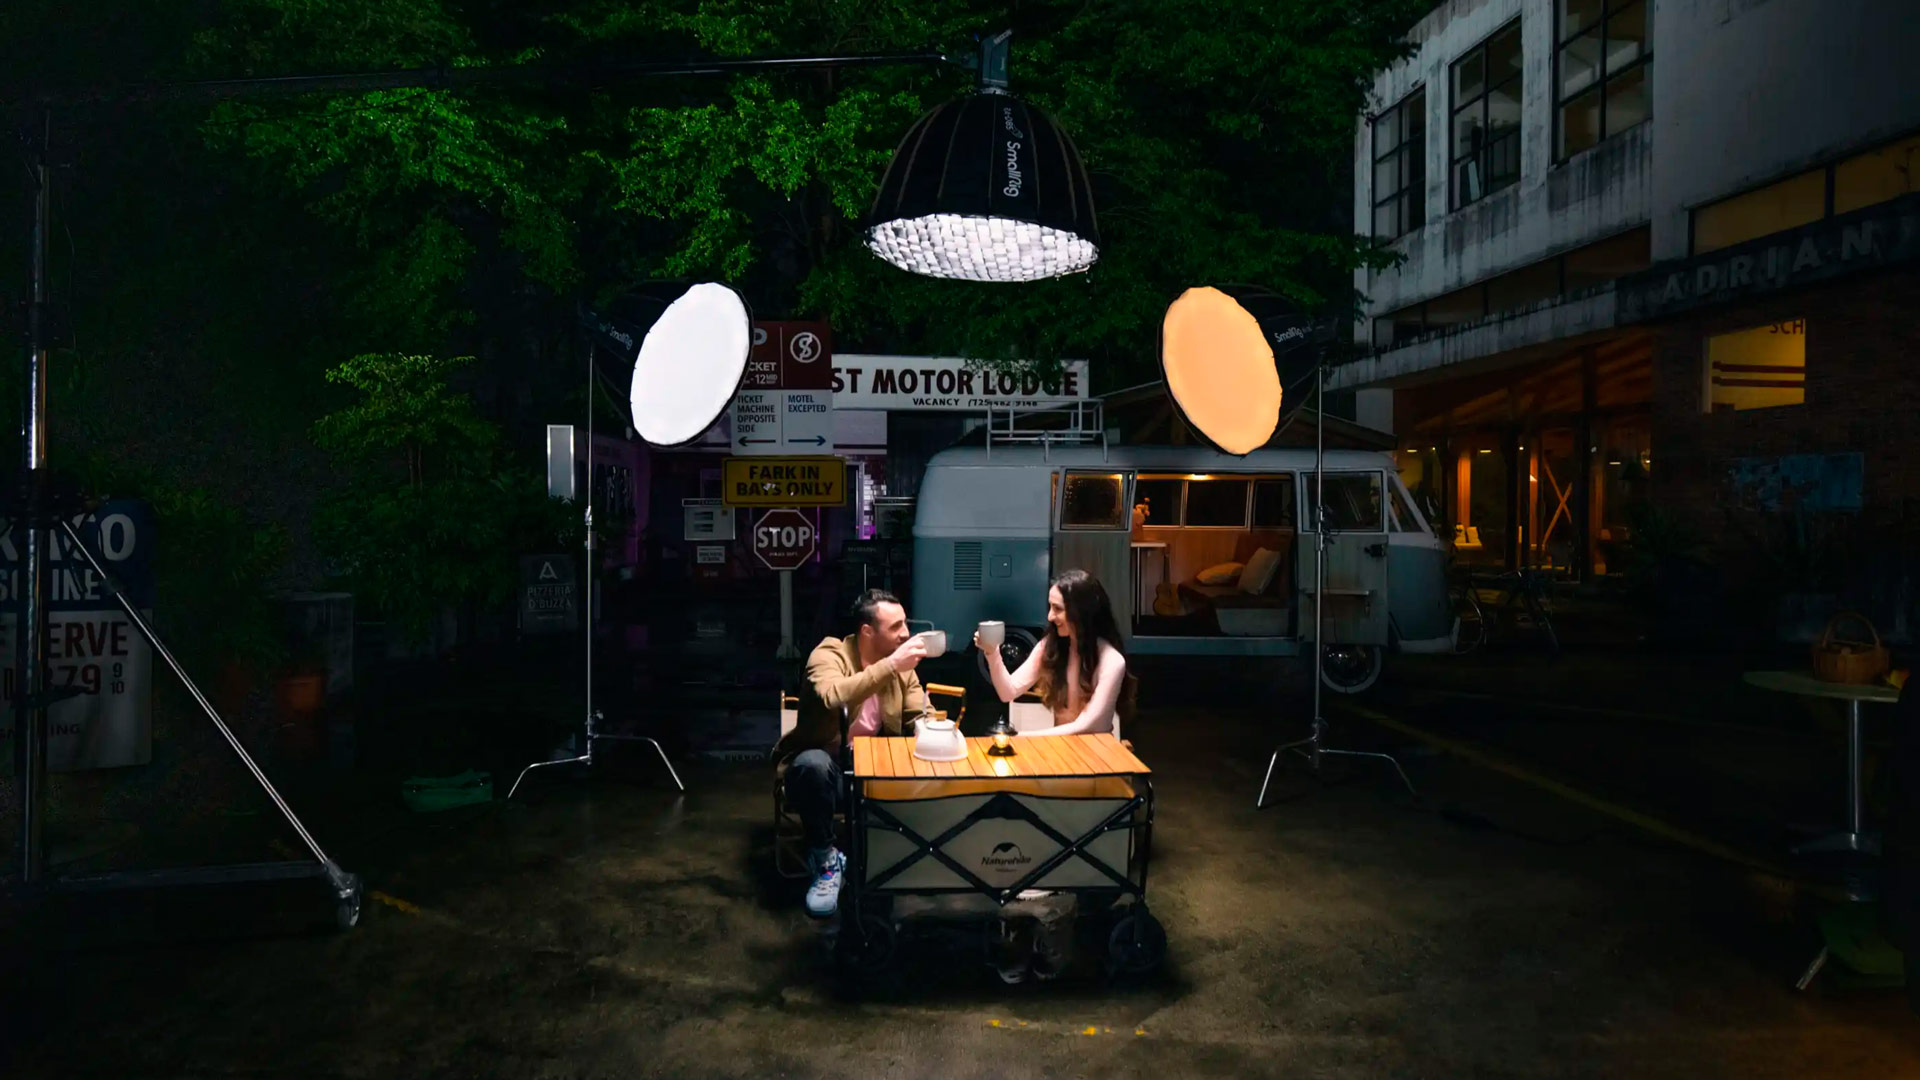
This kind of equipment can go a long way, and the technology guarantees great image quality even for more demanding use. The next step could be, for example, controlling the lighting with LEDs.
Please contact our customer service if we can help with live broadcasts or equipment purchases. Happy broadcasting!